How to Reset Epson L120 Printer with blinking mark
Some of the causes of blinking lights on Epson printers, especially the L120, have many reasons, for example paper jams, waste ink pad counters or also requesting an ink reset (ink level).
The problem of the Epson L120 printer does not print is indicated by alternating blinking lights. There are several ways you can do to fix the problem of an Epson printer unable to print.
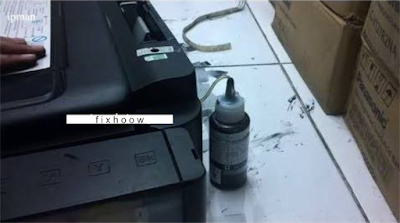
This error occurs because the foam in the printer is completely filled as a result of wasting printing ink. Actually we can clean the back so it doesn't flood and do a reset like in the tutorial that we share below.
To make it easier, drain the ink into the bottle by making a bottle. An example like this picture.
Therefore, here I as the admin will try to share how to solve or reset the Epson L120 printer
STEPS HOW TO RESET EPSON L120
1. Download and Extract the file and open the Adjprog file. exe -> this file is Resetter Epson L120 Masterprinterepson.rar
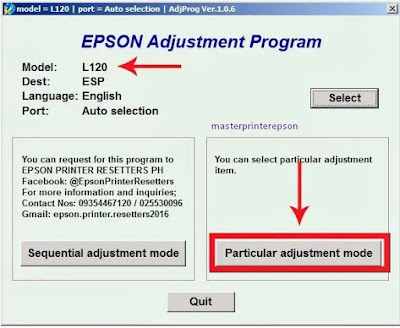
2. Run the Epson Adjustment Program.
Pay attention to whether the model is correct according to the type of printer,
If you have press Particular adjustment mode
3. A new window will appear, select Waste ink pad counter
tick on Main pad counter then press Check,
a new window will appear, press ok and click Initialize to continue the process.
main pad counter
4. The printer will carry out the process by emptying the waste ink by the application,
a new window appears so that we turn off the printer
5. Turn off the printer when the sign appears -> Turn the printer back on -> God willing, the printer can be used again
Hopefully this tutorial is useful for those of you who use the Epson L120. do check the waste ink on the back of the printer.


Posting Komentar untuk "How to Reset Epson L120 Printer with blinking mark"